
*This post may contain affiliate links*
Welcome to the first round of The Great Shacket Sew-Off!! If you are new to The Great Shacket Sew-Off, then I will briefly fill you in! I will be sewing up a number of different shacket patterns throughout the next month or so. As I sew each pattern, I will make notes of pros and cons I found in the pattern. Once completed, I will also note my final remarks on the pattern and finished garment. Once I have sewn up all the patterns on my list, I will compare all the patterns and share my favorites!
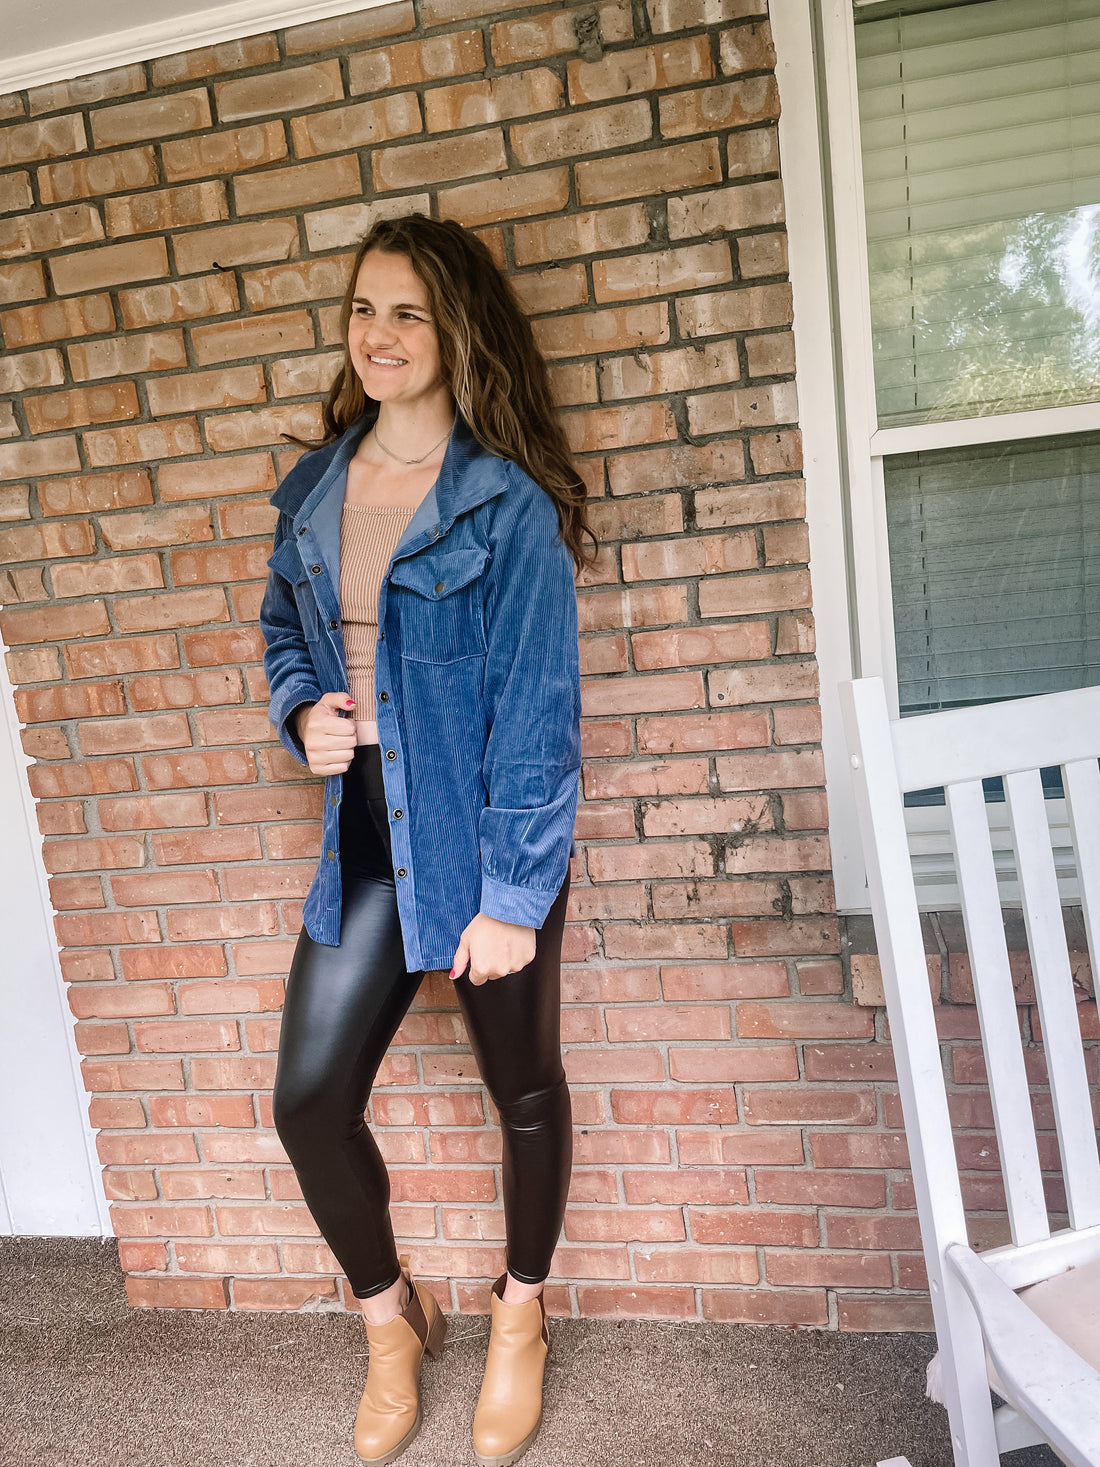
The first pattern I am sewing up is the Ramona Shacket from Petite Stitchery Co. Ramona includes three different length options (crop, top, or tunic) and two sleeve options (simple or bishop). You can choose a hood and/or collar or a shawl neckline. The tutorial also offers options for enclosed or exposed seams in the cuff and neckline. There are also optional chest pockets and flaps on the pockets!
Price: $9.50
Sizes included: 10 Sizes (XS-4X)
*This is also available in children/youth sizing but is sold as a separate pattern.
Pattern format: Digital PDF
What is included: Full tutorial, layered pattern pieces, AO files, US Letter pattern pieces / print guide, projector file.
Style and Size Sewn
Size Large with 2” added to bodice length and sleeve length. I chose the top length, simple sleeves, collar, and enclosed seams. I also added the pockets and pocket flaps. I used the projector file for cutting out my pattern.
My Measurements:
Bust: 37”
Waist: 32”
Hip: 40.5”
Height : 5’9”
Pattern Size Chart

Fabric
I used a medium/ heavy weight corduroy fabric from my stash. I was gifted the fabric so I do not know the content. I also used snaps for my closures. You can find my snaps here.
The pattern recommends using wovens or stretch wovens. You can also use a low stretch, structured knit.
Note: I found that the fabric requirements were incorrect. It was recommended to have 2yds of a size large. I ended up using just over two yards of 44” wide fabric. And while I added length to my pattern pieces, I would have been extremely close to using all 2 yards with no room for error. I also did the simple sleeve which used much less fabric than the bishop sleeve. If I had done the bishop sleeve, I would have used much more. I was also using a solid fabric so I did not have to worry about directional fabric or print matching.
Instructions
The instructions are very clear and easy to follow.
There is real life photos for every step to help for visual people.
Pattern
Was the finished garment what you expected?
Yes! My finished shacket looked as I expected it to after looking through the photos and line drawings on the site.
What did you like or dislike about the pattern?
- There was no information on the amount of interfacing needed for the pattern. This would be a good piece of information to add to the details.
- I love the finished fit of the garment and it fit as I expected based on the listing photos.
- There is no information about the intended fit to help base sizing decisions on. A fit description and finished garment measurements would be very helpful *There is a finished measurement chart for length but no other measurements.
- I liked that they offer instructions for exposed or enclosed seams on the collar/hood and cuffs. This allows for a beginner or advanced sewist to choose the method they are most comfortable with.
- There is not button placement guide. You are given general measurements for the cuff button placements, but no other guidance is given. For the front button placket, it only states “Evenly space the buttons along the button tab.” A button placement guide on the pattern pieces would make adding buttons and buttonholes or snaps much easier. There is also no mention of adding buttons/ snaps to the pocket flap which I feel is needed to keep the flap down and should be done before constructing the entire garment.
- I would like the pocket flaps to be a bit smaller so they are not wider than the actual pocket.
- I love that they have a cut chart for the square / rectangle pieces. This is particularly nice for those that print their pattern pieces as this allows you to just use the chart instead of printing and pieces those pieces together!
- This pattern is made with a separate button placket. I feel this give the finished garment a more professional finish (the other option is typically just the bodice folded over and topstitched down). The only downside to this is it adds a bit more complexity if trying to match patterns/stripes.
- I am not a huge fan of the cuff placket construction. I did not feel like it was very easy to construct and that it does not give a great looking finish.
- The projector file has two pattern options, one with a white background and one with a white background. This is extremely helpful for the ease of seeing the cut lines on different fabric colors.


Would you make this pattern again?
Yes! I definitely would make this pattern again! I would maybe make a few adjustments, such as changing the pocket flaps. I also would consider sizing up for a little bit more oversized fit. I would also like to sew one up with the hood added on, as I think that style is very cute!
Have you sewn the Ramona Shacket before? If so, what are your thoughts on the pattern? Please share them below if you are comfortable! Also, if you have shared your finished garment on Instagram, please tag me! I’d love to see your beautiful creations!